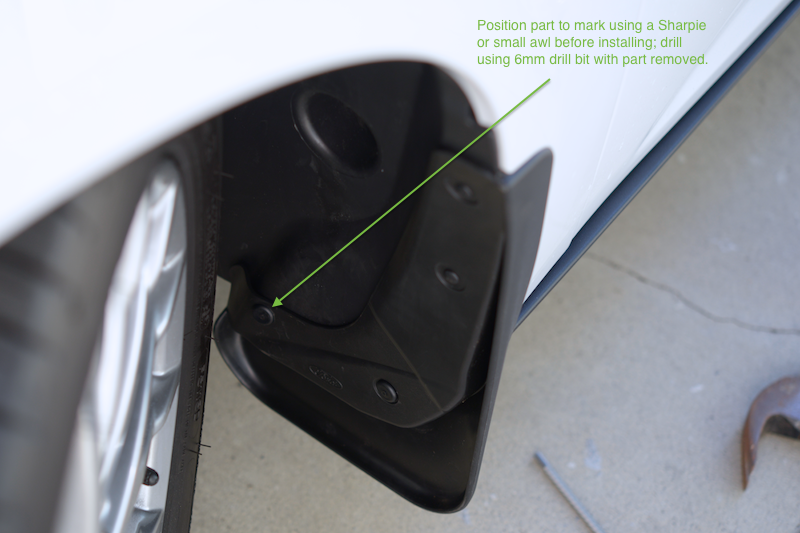
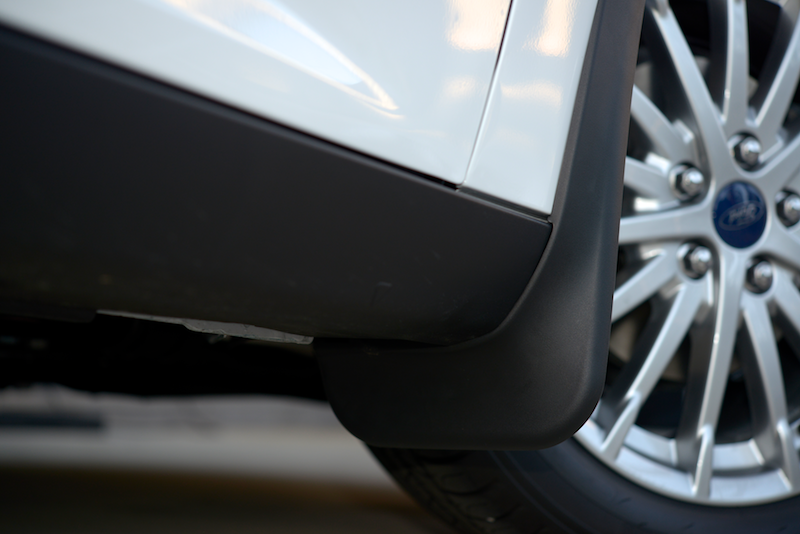
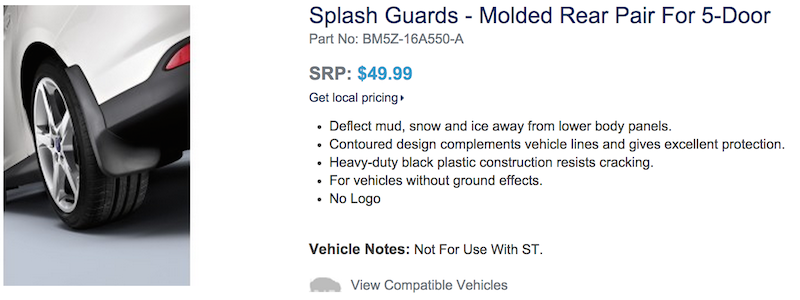
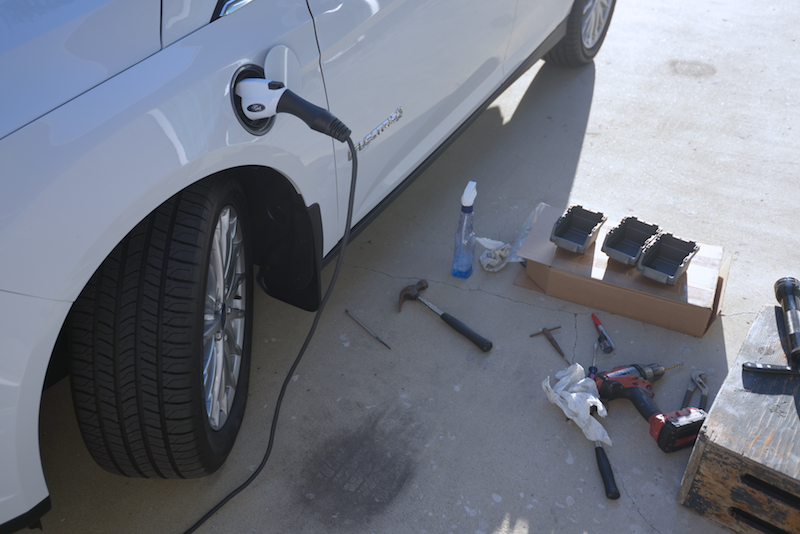
It took me longer than expected to install the splash guards (front-right, shown below). It's a bit tedious, but doable. Here's a list of tools I used:
• Paper towels.
• Microfiber cloth.
• Windex.
• Flat-head screwdriver (to remove body clips).
• Small awl.
• 6mm drill bit (I used a 3/16" drill bit).
• Torx bits (two sizes).
• 1/4-inch ratchet with bit socket.
• Small hammer.
• Rodded file.
• De-burring tool.
• Pliers.
• Maglight 'D'-cell flashlight.
• Small length of lumber (I used 1/2" x 1" x 12").
Although it would be easier to install the front and rear splash guards with the wheels off, it isn't necessary to remove the wheels. The instructions don't mention removing the wheels, but do suggest using a jack. I chose not to use one, and just worked with the car on the ground. First, clean the parts of the wheel well, lower trim, and body panel where the part will attach. This will avoid trapping any dirt or debris underneath the splash guard once installed.
The fronts require you to drill a 6mm hole into the plastic wheel well cover (below) to accommodate an additional point of attachment. Since I don't own metric bits, I used a 3/16" bit. The supplied "push-pin" type plastic body clips work great (make sure to use the correct ones in the right holes), but the one that goes through the drilled hole is a pain to get inserted if you only drill a 3/16" hole. I had to de-burr the debris from the front and back of the wheel well cover to accommodate the clearance needed for the push-pin body clip to "expand." Even then, it's a bit of a chore to get the clip in. I had to use a small pair of pliers to "push" the pin flush with the top of the clip since there's no clearance to use a hammer.

Installing the rears are more straightforward and don't require any drilling. The Ford installation instructions for the rear splash guards are confusing, and overly-complicated--it's actually easier to just look at the parts and figure it out on your own. Again, this took a while due to the tight clearance, but it can be done. The hard part is "starting" the screws, since your vision is obscured when attempting to insert the Torx bit into the screw-head. I mainly worked upside-down from under the car using the 1/4" ratchet and Torx bit. While it would be easier on a jack, I just left the car on the ground.
I un-screwed the existing screws (which in this case, you re-use to attach the new part) with the Torx bit inserted into a short extension (without a ratchet), using only my fingers to rotate the bit (this is where one of those "finger-ratchet" sets would be handy). Also, the instructions recommend that you use 1/4" serrated lock washers for the rears (x4) in addition to the original screws. These aren't included (and weren't present on the factory-attached screws), so you'll have to supply these yourself ($1.50 at Home Depot for a box of 50). I would definitely recommend including these in your install because the rear factory-installed Torx screws weren't even finger-tight, and were almost about to fall out.

While the fronts add an additional point of attachment, the rears add both a steel clip and an added point of attachment (a supplied screw, plus a sheet metal nut). You don't have to drill a hole for the rears, because there's already a hole there, apparently, just for this purpose. You can install the clip on the rears using a small length of lumber and a hammer. Both fronts and rears, once installed, are fastened very securely (especially if adding the recommended lock washers for the rears), and won't likely ever come off. Fit and finish of these parts is excellent.


